Getting Started with Python
If you’re thinking about getting started with Python, this is the post for you. The truth is, before you can actually start coding in Python, there is some information and set up that you should know and do. In this Introduction to Python Part 1, we will cover why you should use Python, how to install the necessary software, and take a look at the coding environment.
Why Python?
Programming is the process of writing down a task or a sequence of tasks in a language that computers can understand and execute. While there are several programming languages out there designed for specific tasks, Python is one of the most popular for many reasons; let’s name a few:
- First and foremost, Python is an open-source language meaning that it is free to install and use.
- Pythons syntax is similar to English making it easy to learn, use, and implement.
- Lastly, Python can be used for many applications including web and game development, AI and machine learning, business applications and more.
No matter your programming goals, Python can easily help you achieve them.
How do I get Python?
So now you’re probably wondering how and where you can start coding in Python. Remember, Python is only a programming language, so you will need an application to actually program the language in. That application is called Jupyter.
Jupyter is an application that provides a web browser interface for programming. Not only does Jupyter cater to and allow you to code in different programming languages, but it allows you to save files to a remote server which provides easier file sharing and collaboration within organizations. Therefore, before you can start coding in Python, you need to install Jupyter.
Luckily, Anaconda, a distribution for different data science applications and packages, includes both Python and Jupyter. So, all you need to do is install Anaconda and you will have both. This is ideal for users who have never used Python or Jupyter before. Let’s take a look at how to install Anaconda:
Installing Anaconda
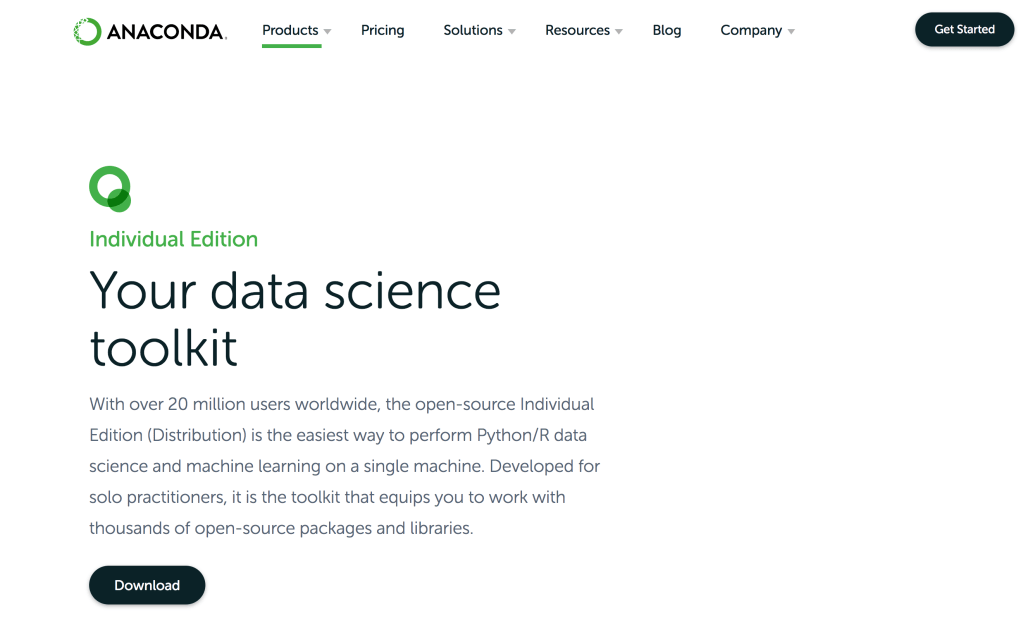
Go to “https://www.anaconda.com/“, click on “Individual Edition” under “Products”, and click on “Download.”
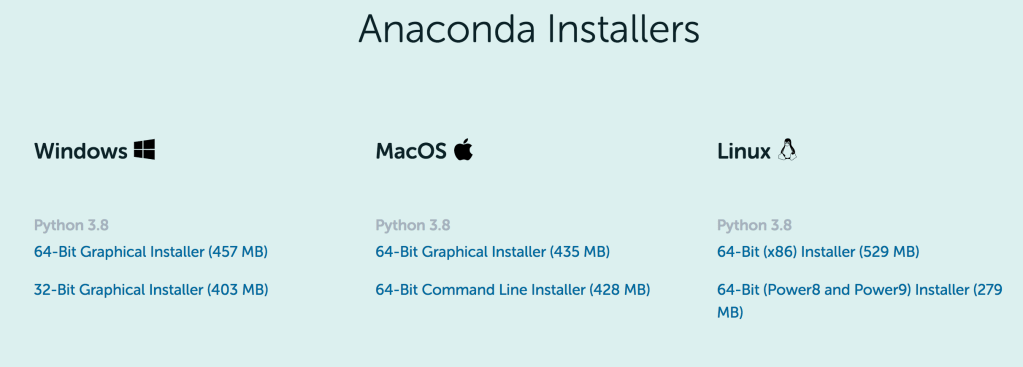
This will prompt you to choose the appropriate Anaconda installer based on your operating system. Once you choose one, continue with the installation.
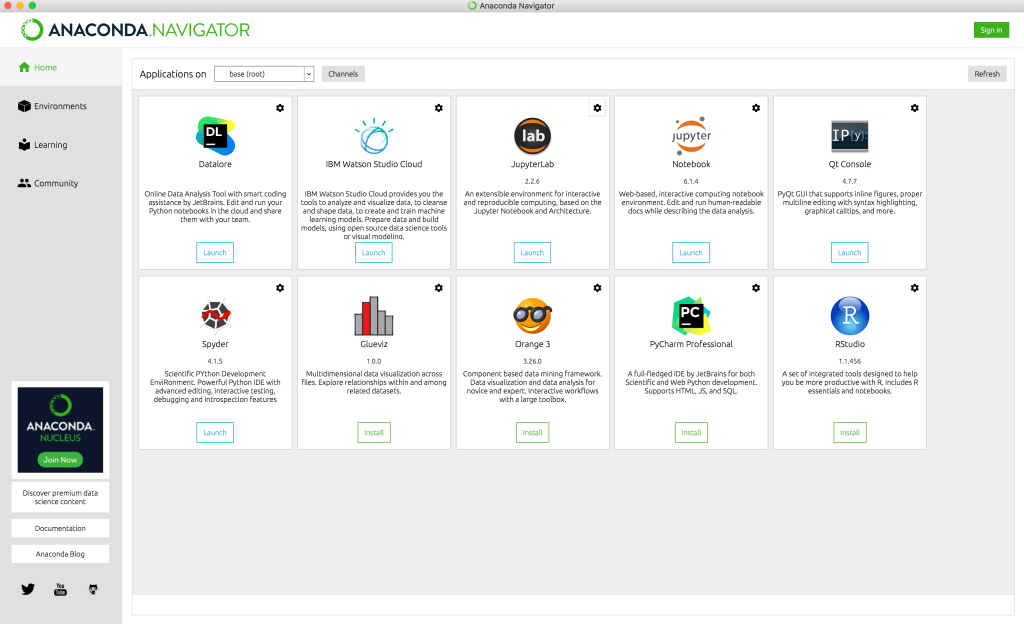
Once installation is complete, you will have an application called Anaconda Navigator on your computer. Anaconda Navigator is a desktop graphical user interface (GUI) within the Anaconda distribution that allows you to easily launch applications like Jupyter.
The Jupyter Interface
Open the Anaconda Navigator and launch JupyterLab to get a better understanding of its interface; this should open a web browser with the JupyterLab Launcher as pictured below. JupyterLab is an interactive environment where you can create Jupyter notebooks to program in Python.

From the the JupyterLab Launcher, you have the option to launch a Jupyter notebook or console, a terminal, a text file and a markdown file. We’ll work with a notebook for now. Selecting the notebook will open an empty notebook (or shell). You will notice that the Jupyter notebook is a .ipynb file. You will want to rename the file name so that you can easily find it later.

Once open, you should see the shell with empty cells where you can input code. Once you have entered code into an empty cell, hit “Control” + “Enter” to run the code in that cell or “Shift” + “Enter” to run the code in that cell and create another empty cell to continue coding.
Here are some helpful keys to know when working with cells:
- “C” will copy the selected cell
- “V” will paste the copied cell
- “X” will cut the selected cell
- “B” will create a new cell
- “D” and “D” will delete the selected cell
- “M” will turn the cell into a Markdown cell, a cell for text only
Now that we have talked about why you should use Python, how to install the proper software, and took a look around the coding environment, you can finally get started with coding in Python!
Feel free to play around in a Jupyter notebook for yourself, and head on over to Part 2 of this Introduction to Python which covers the basics of Python syntax, variables, data types and more.

[…] are probably here because you read my blog post: Introduction to Python Part 1. If not, and if you are brand new to Python, then stop and read that post now. Otherwise, continue […]
LikeLike
[…] post in this Introduction to Python series. If you are brand new to Python and have not read parts one and two of this series, please read those […]
LikeLike